Invite your team
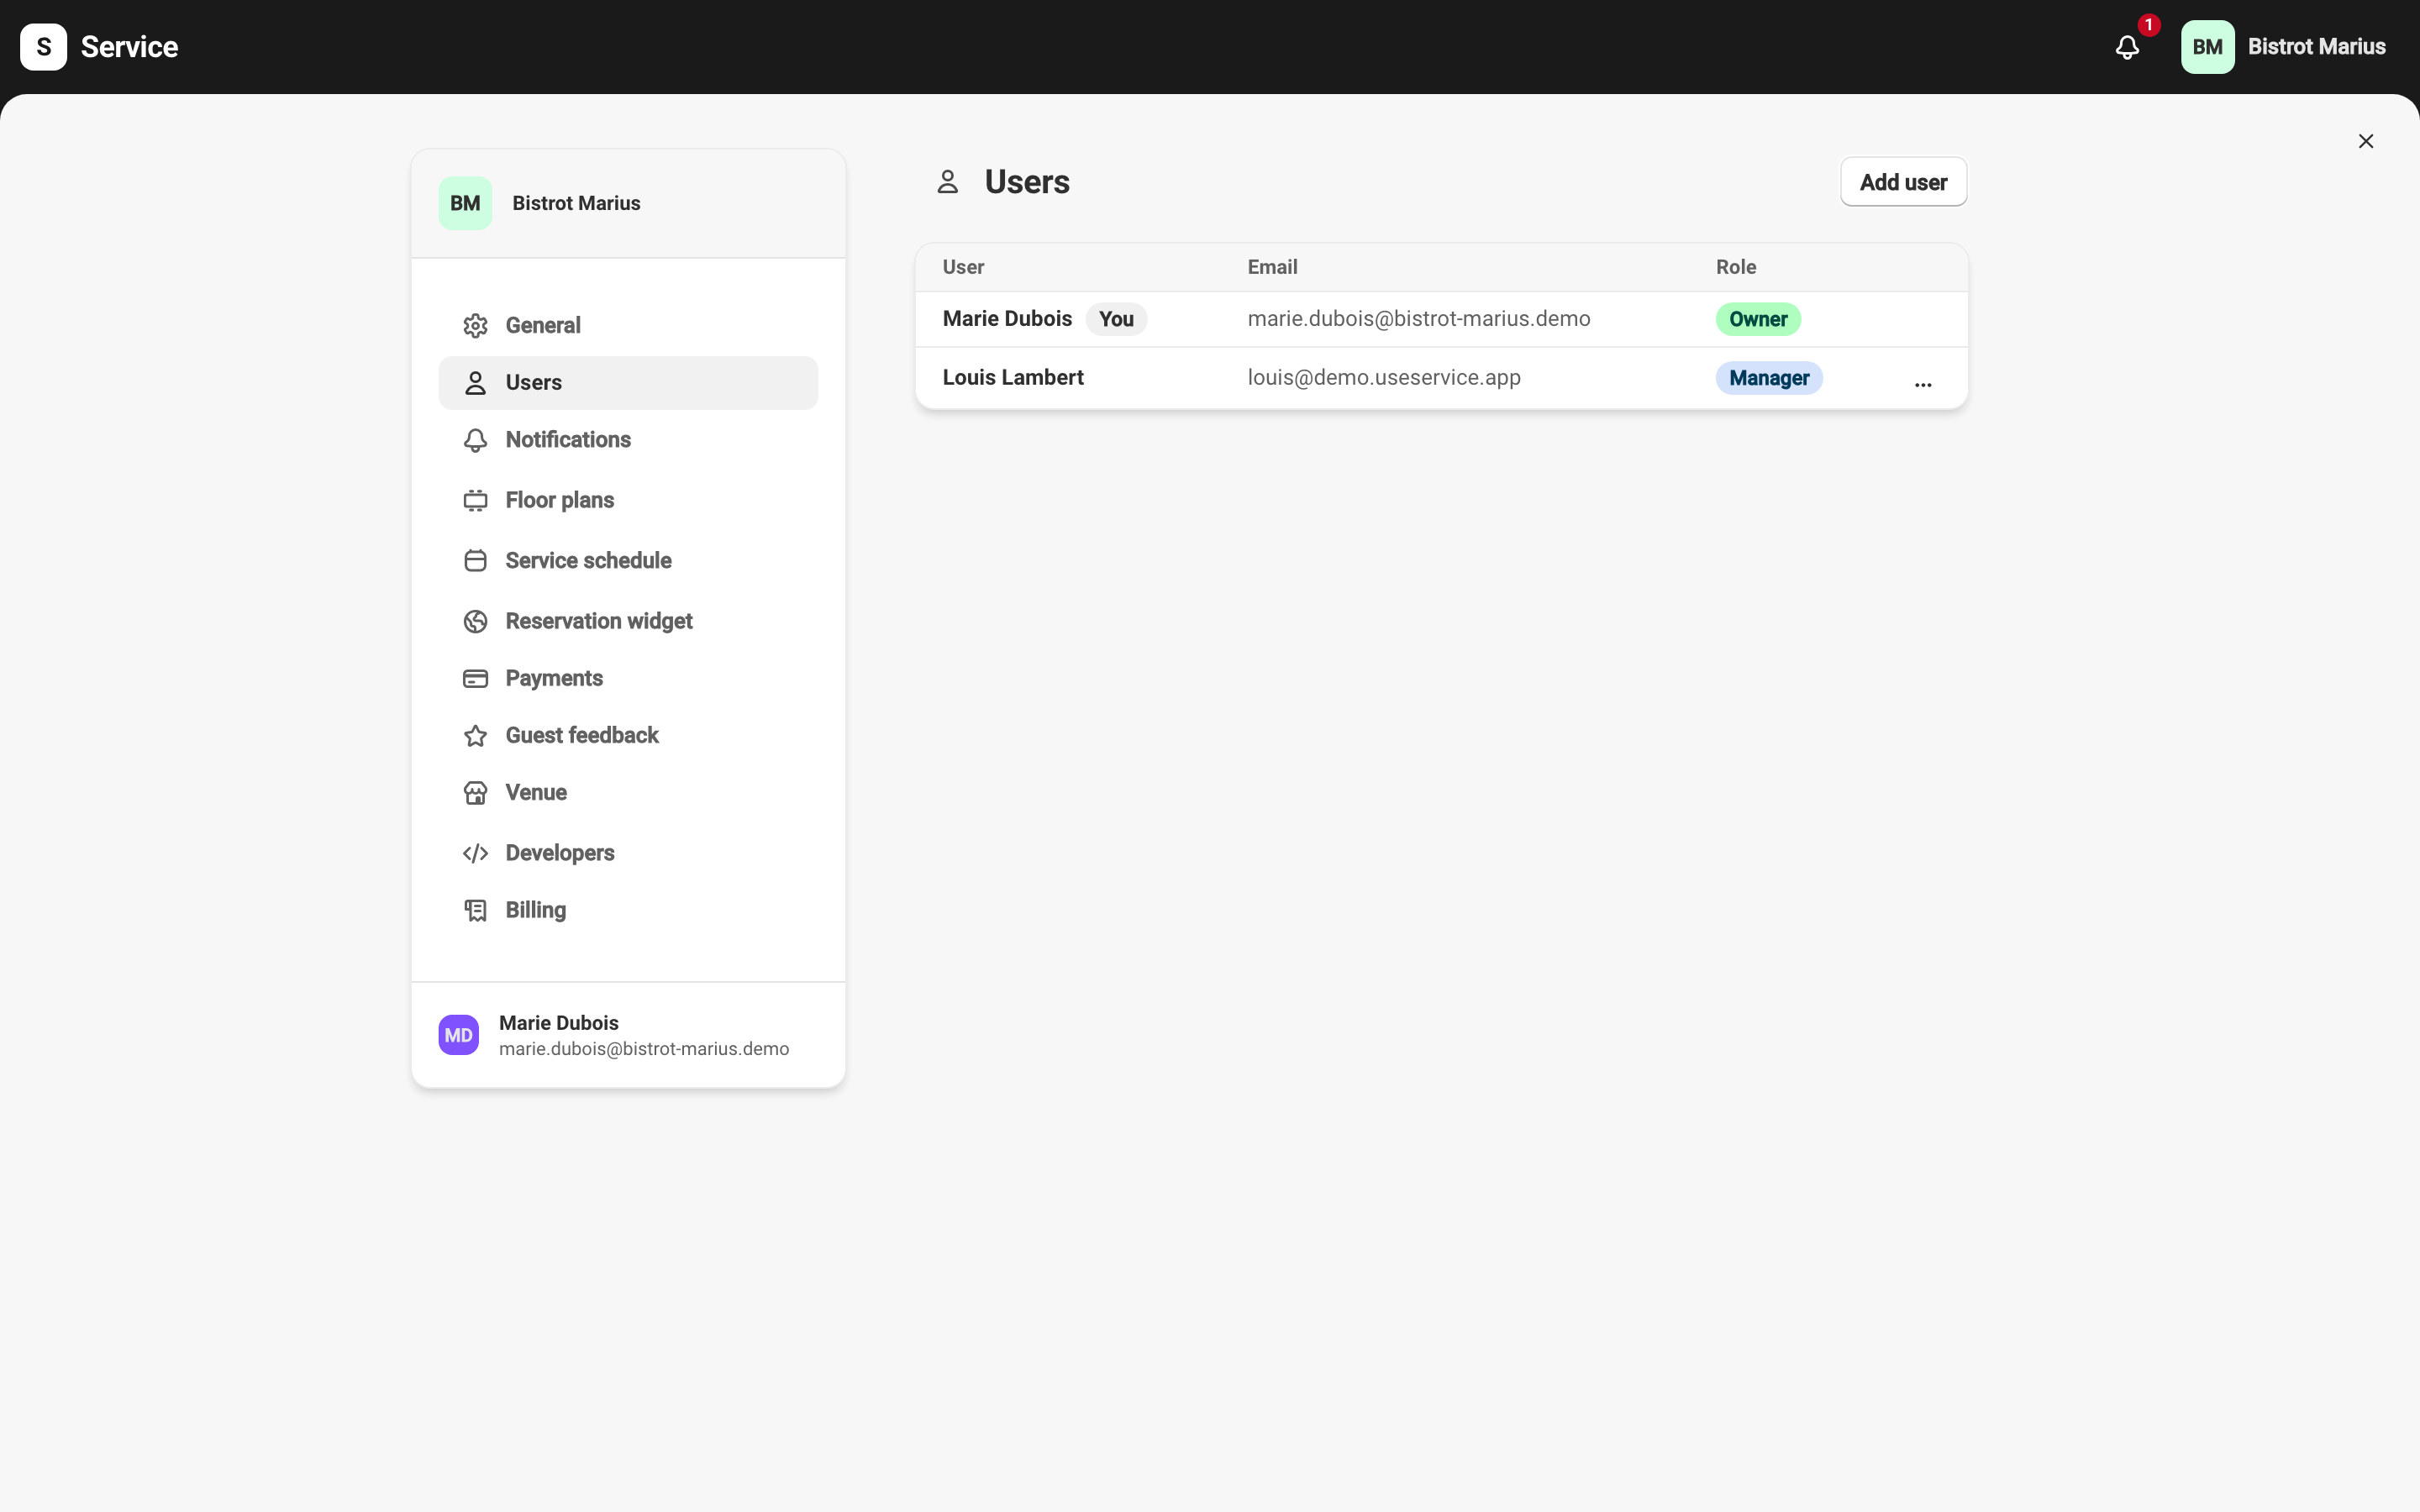
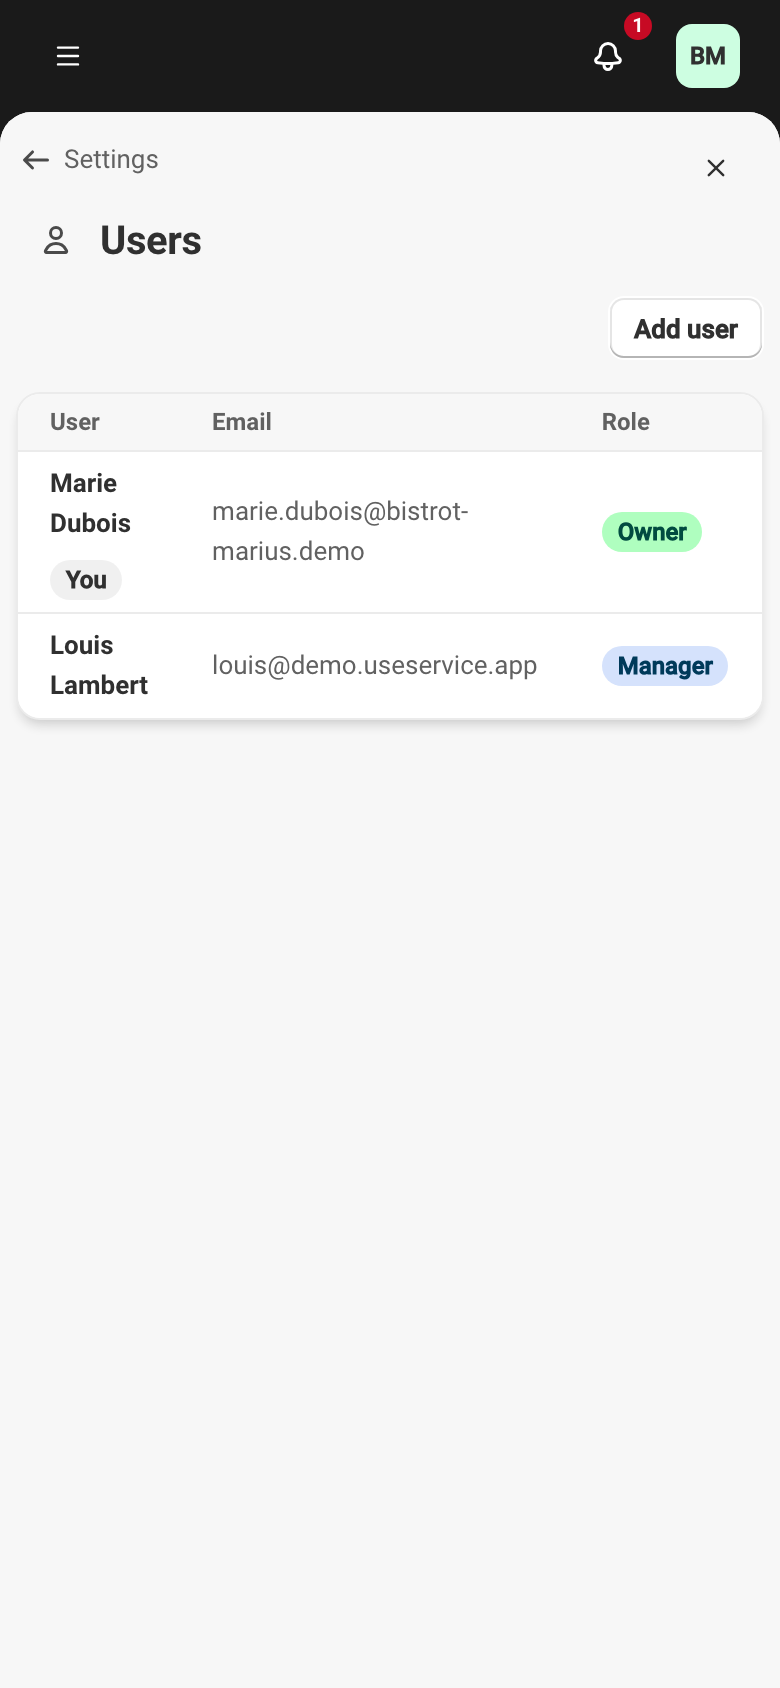
You add your team members and manage their access in SettingsUsers. Each row shows a member’s name, email, and role; your own carries the You badge.
Add a member
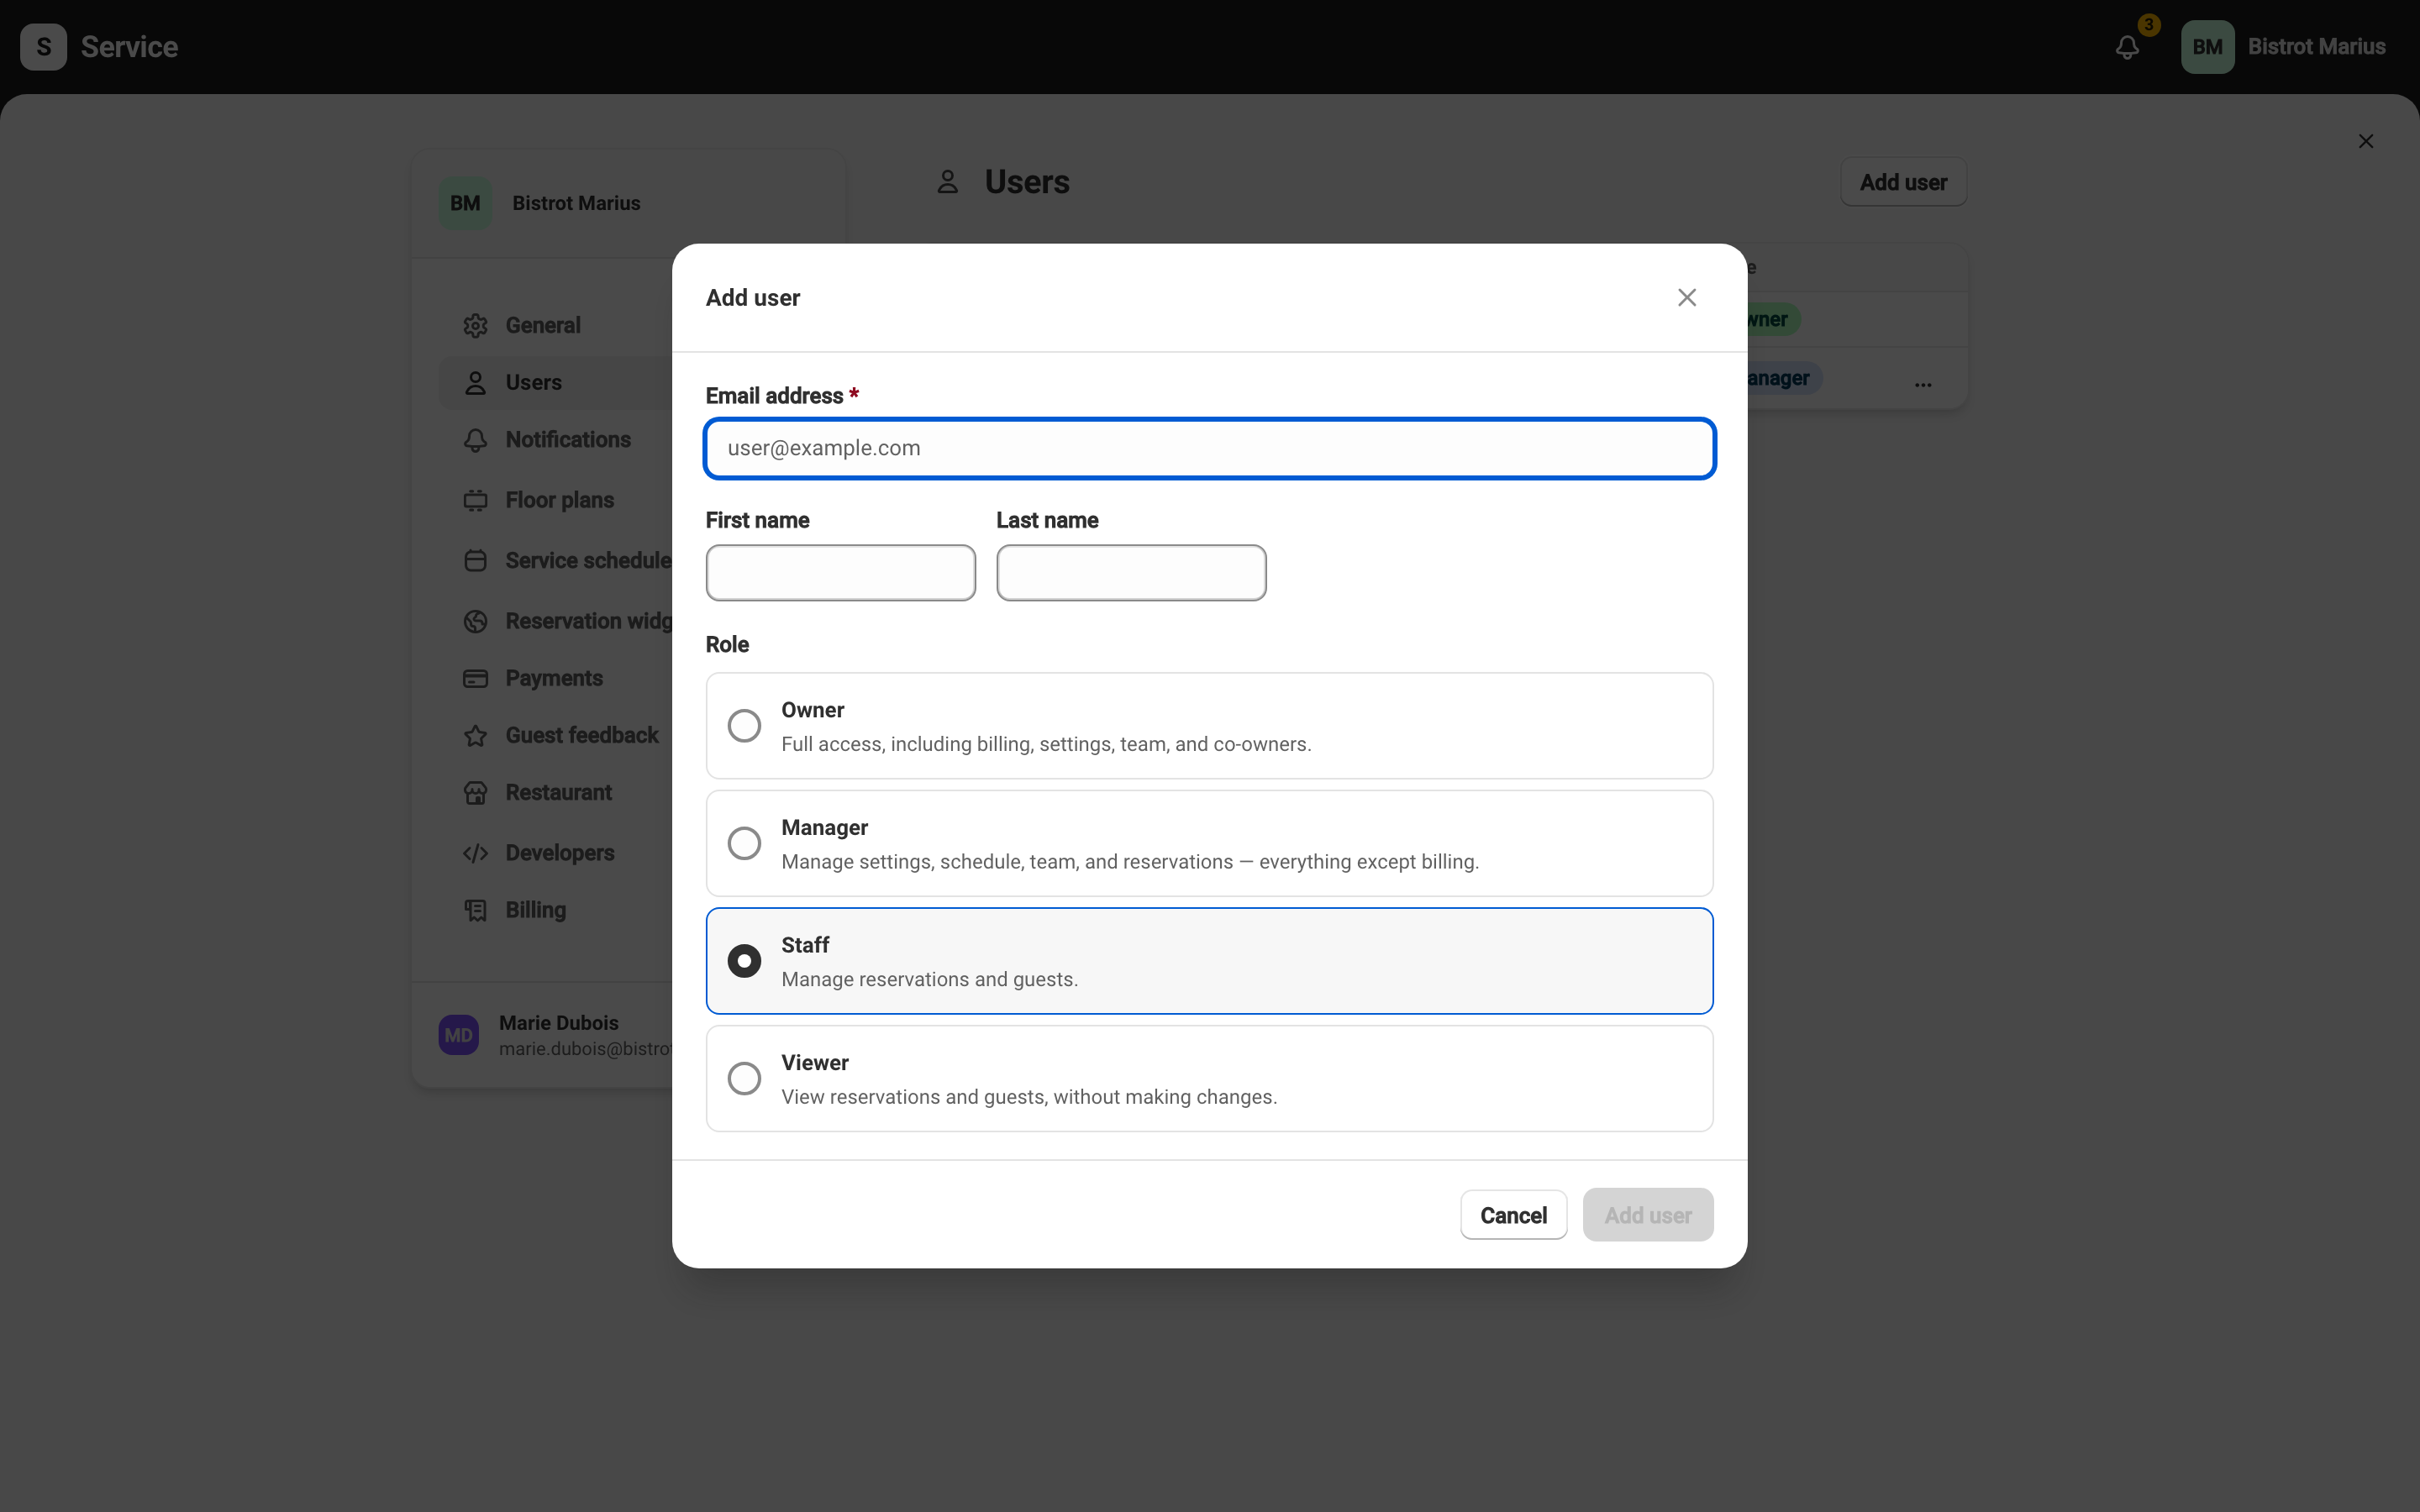
Section titled “Add a member”Click Add user. Enter the member’s Email address — the only required field — then, if you want, their First name and Last name. Finally, choose a Role.
Service then sends an email to that address. If the person does not have a Service account yet, the email contains a link to choose their password; if they already have one, the email invites them to sign in. The steps on the member’s side are described in Signing in for the first time.
The roles
Section titled “The roles”The role sets what a member can see and do. Four roles exist, from the broadest to the most restricted: Owner, Manager, Staff, and Viewer. The add dialog describes what each one allows.
You only assign roles at your own level or below. An owner can therefore name another owner, which a manager cannot do.
Change a role or remove a member
Section titled “Change a role or remove a member”The actions menu at the end of a row offers Change role and Remove. These actions appear only for members whose role is below yours — an owner can also manage other owners. You cannot change your own role, and a venue’s last owner cannot be demoted or removed.
A venue has at most twenty-five users. Beyond that, remove a member before adding a new one.