API keys
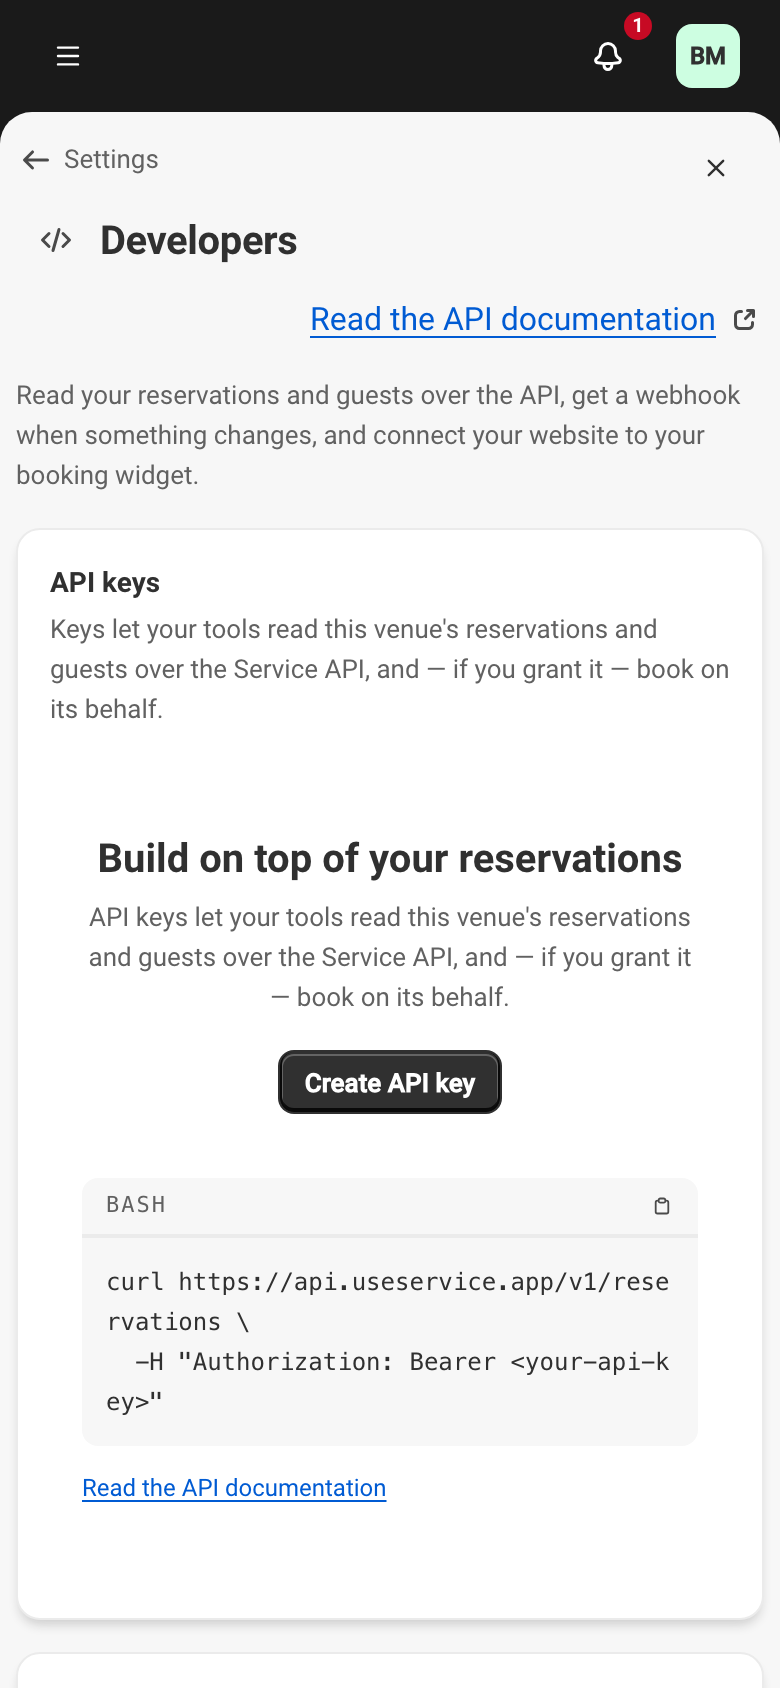
An API key lets a system you connect to Service read this venue’s reservations and guests over the Service API and, if you allow it, book on its behalf. The API keys section lives in the Developers area.
SettingsDevelopers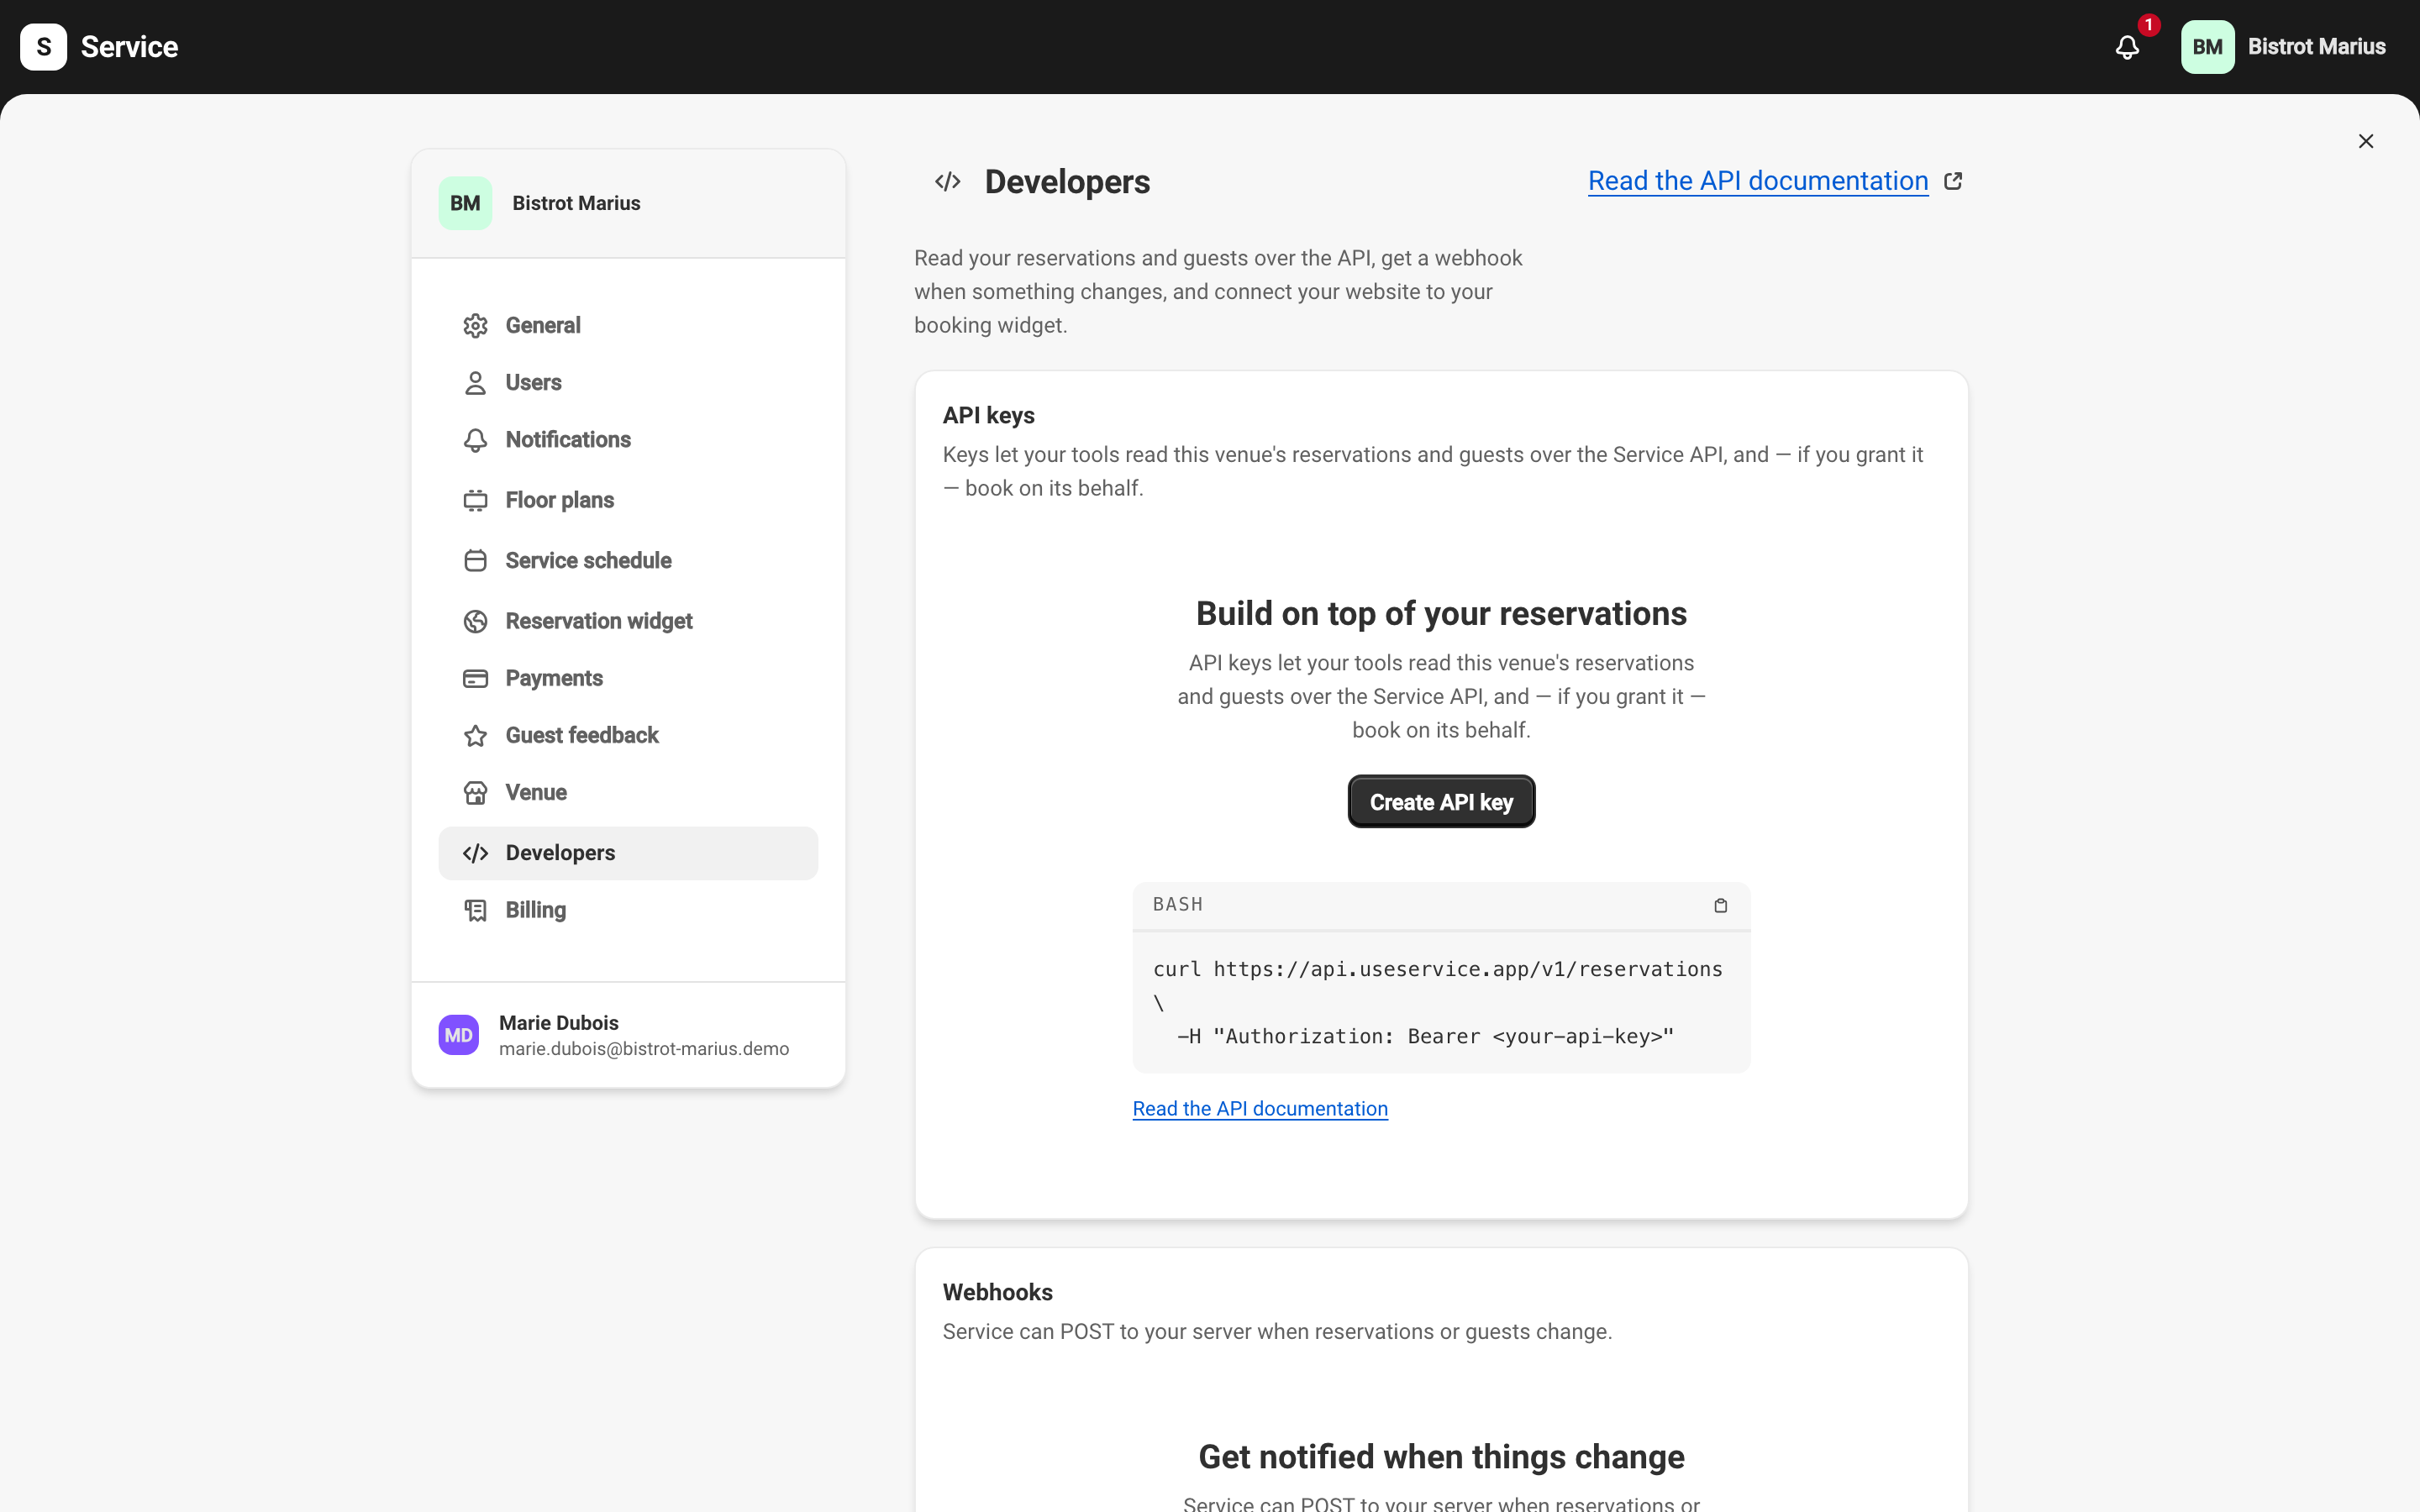
Who can manage keys
Section titled “Who can manage keys”The Developers area is reserved for the venue Owner, including co-owners. A key can read guest data and take bookings in your place, which is the reason for that limit — see Users and roles.
API keys are part of the Premium plan. Without it, the section shows an invite to change plan in place of the create button, and any keys already created stay inactive until the plan is activated.
Creating a key
Section titled “Creating a key”The Create API key button opens a dialog with two fields:
- Name — a name you’ll recognise later, for example the system using the key.
- Permissions — what the key can do. Read reservations is ticked by default; at least one is required.
The permissions and the API version are pinned at creation. To change them, create a new key, then revoke the old one.
Choosing permissions
Section titled “Choosing permissions”Tick only what the system needs. Before you create the key, ask whoever connects it what the system will do with it.
| Permission | What the connected system can do |
|---|---|
| Read reservations | See your bookings, their history and your waitlist. |
| Create and change reservations | Book, modify and cancel in your place, and hold a table while a guest decides. Your booking rules still apply. |
| Book past your rules and limits | Three things at once. Take a booking your rules would refuse: a full service, a slot closed online, a party over the limit. Mark a booking so it doesn’t count towards a service’s covers caps; the table is still occupied. Book every table in a section for one event. |
| Read the guest book | See guest profiles, their contact details and their visit history. |
Book past your rules and limits needs Create and change reservations: it stays greyed out until that one is ticked.
On confirmation, the key is shown once, with the warning Copy this key now. For security, we won’t show it again. Copy it and store it like a password before you close the dialog.
A venue can have up to ten active keys. Once the limit is reached, the Key limit reached message appears; revoke an unused key to create a new one.
The keys table
Section titled “The keys table”Each key takes a row with its Name, the Key (truncated), its Permissions, its Last used time, its creation date and its Status:
- Active — the key works.
- Revoked — the key was turned off and no longer works.
- Expired — the key has reached its expiry date.
The actions menu at the end of the row offers Copy key ID, Rename and Revoke.
Revoking a key
Section titled “Revoking a key”Revoke turns the key off immediately and permanently: any integration using it stops working at once. This action asks for confirmation and can’t be undone. To replace a key, create a new one before you revoke the old one.
In your reservations
Section titled “In your reservations”A reservation made by the connected system shows API as its Source.
When that system holds a table while a guest decides, it appears with the Held status and stays occupied until the system turns it into a reservation, gives it back, or lets it expire. To get the table back sooner, choose Release the table from the status badge — see Reservation statuses.
The system can also handle guest messages itself. Service then sends no confirmation and no reminder, and the reservation says so: Guest messages — Handled through the API.
Using a key
Section titled “Using a key”Managing keys happens here; using them — the endpoints, the fields returned, the authentication — is described in the API documentation, in particular the Authentication guide. You can also reach it from Service, through the Read the API documentation link at the top of the Developers screen.
To be notified of a change instead of polling the API, see Webhooks.