Install the widget on your website
The Integration card, at SettingsReservation widget, gives you the link to your booking page and the code to place on your site.
The booking URL
Section titled “The booking URL”Public booking URL is the direct link to your public booking page, of the
form https://book.useservice.app/r/your-restaurant. The Copy button places
it on your clipboard.
Share this link as is: in your Instagram bio, on your Google listing, by message. It opens the booking page hosted by Service, with nothing for you to install.
The embed code
Section titled “The embed code”To show the widget on your own site, copy the Embed code. Three modes are offered, each under its tab. The code on each tab copies in one click and pastes into your page’s HTML.
Inline
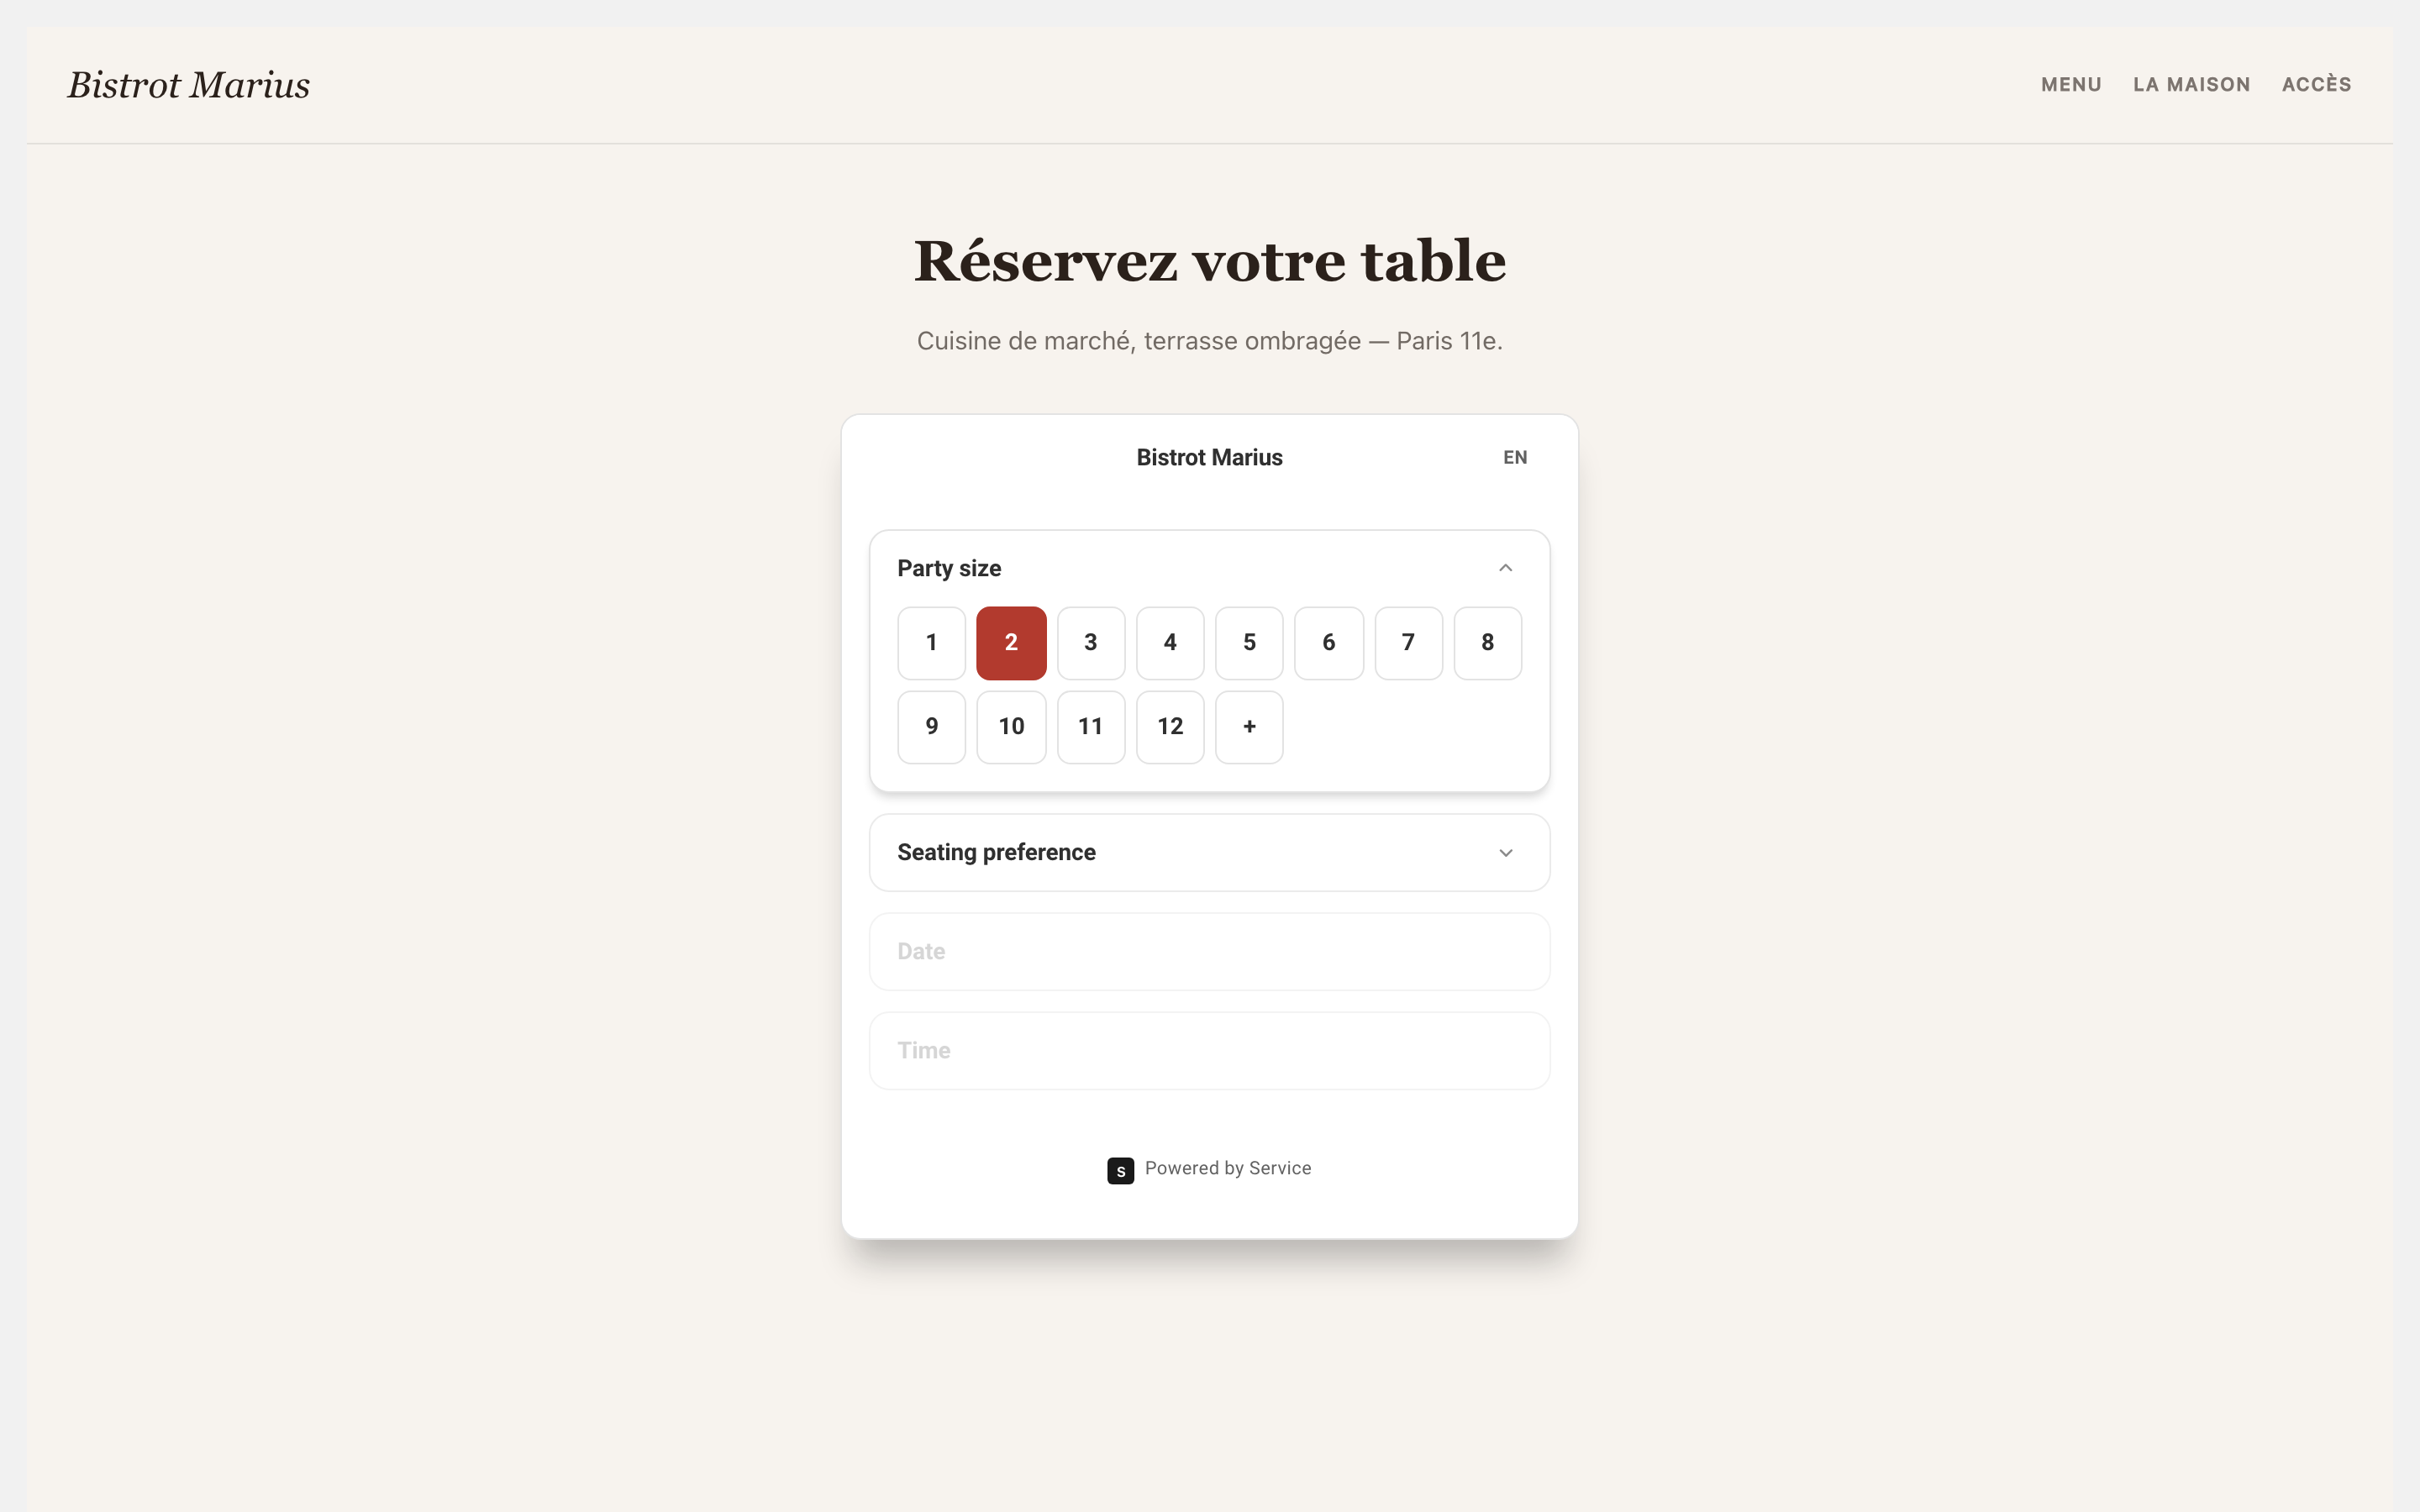
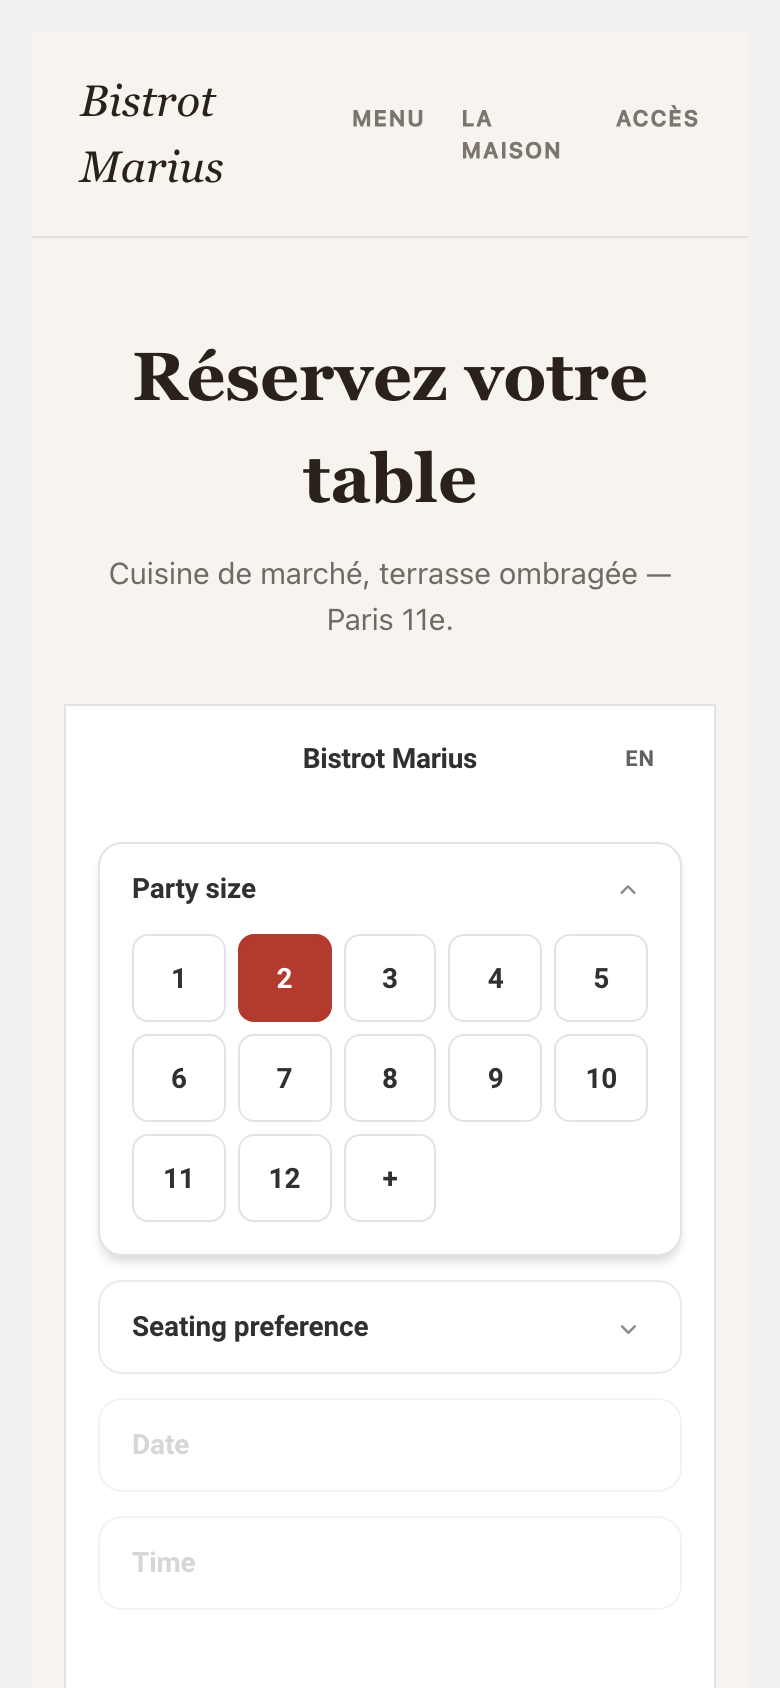
Section titled “Inline”Inline renders the booking form directly inside a container on your page, in the flow of the content. This is the mode to choose for a dedicated “Book” page.
Sticky button
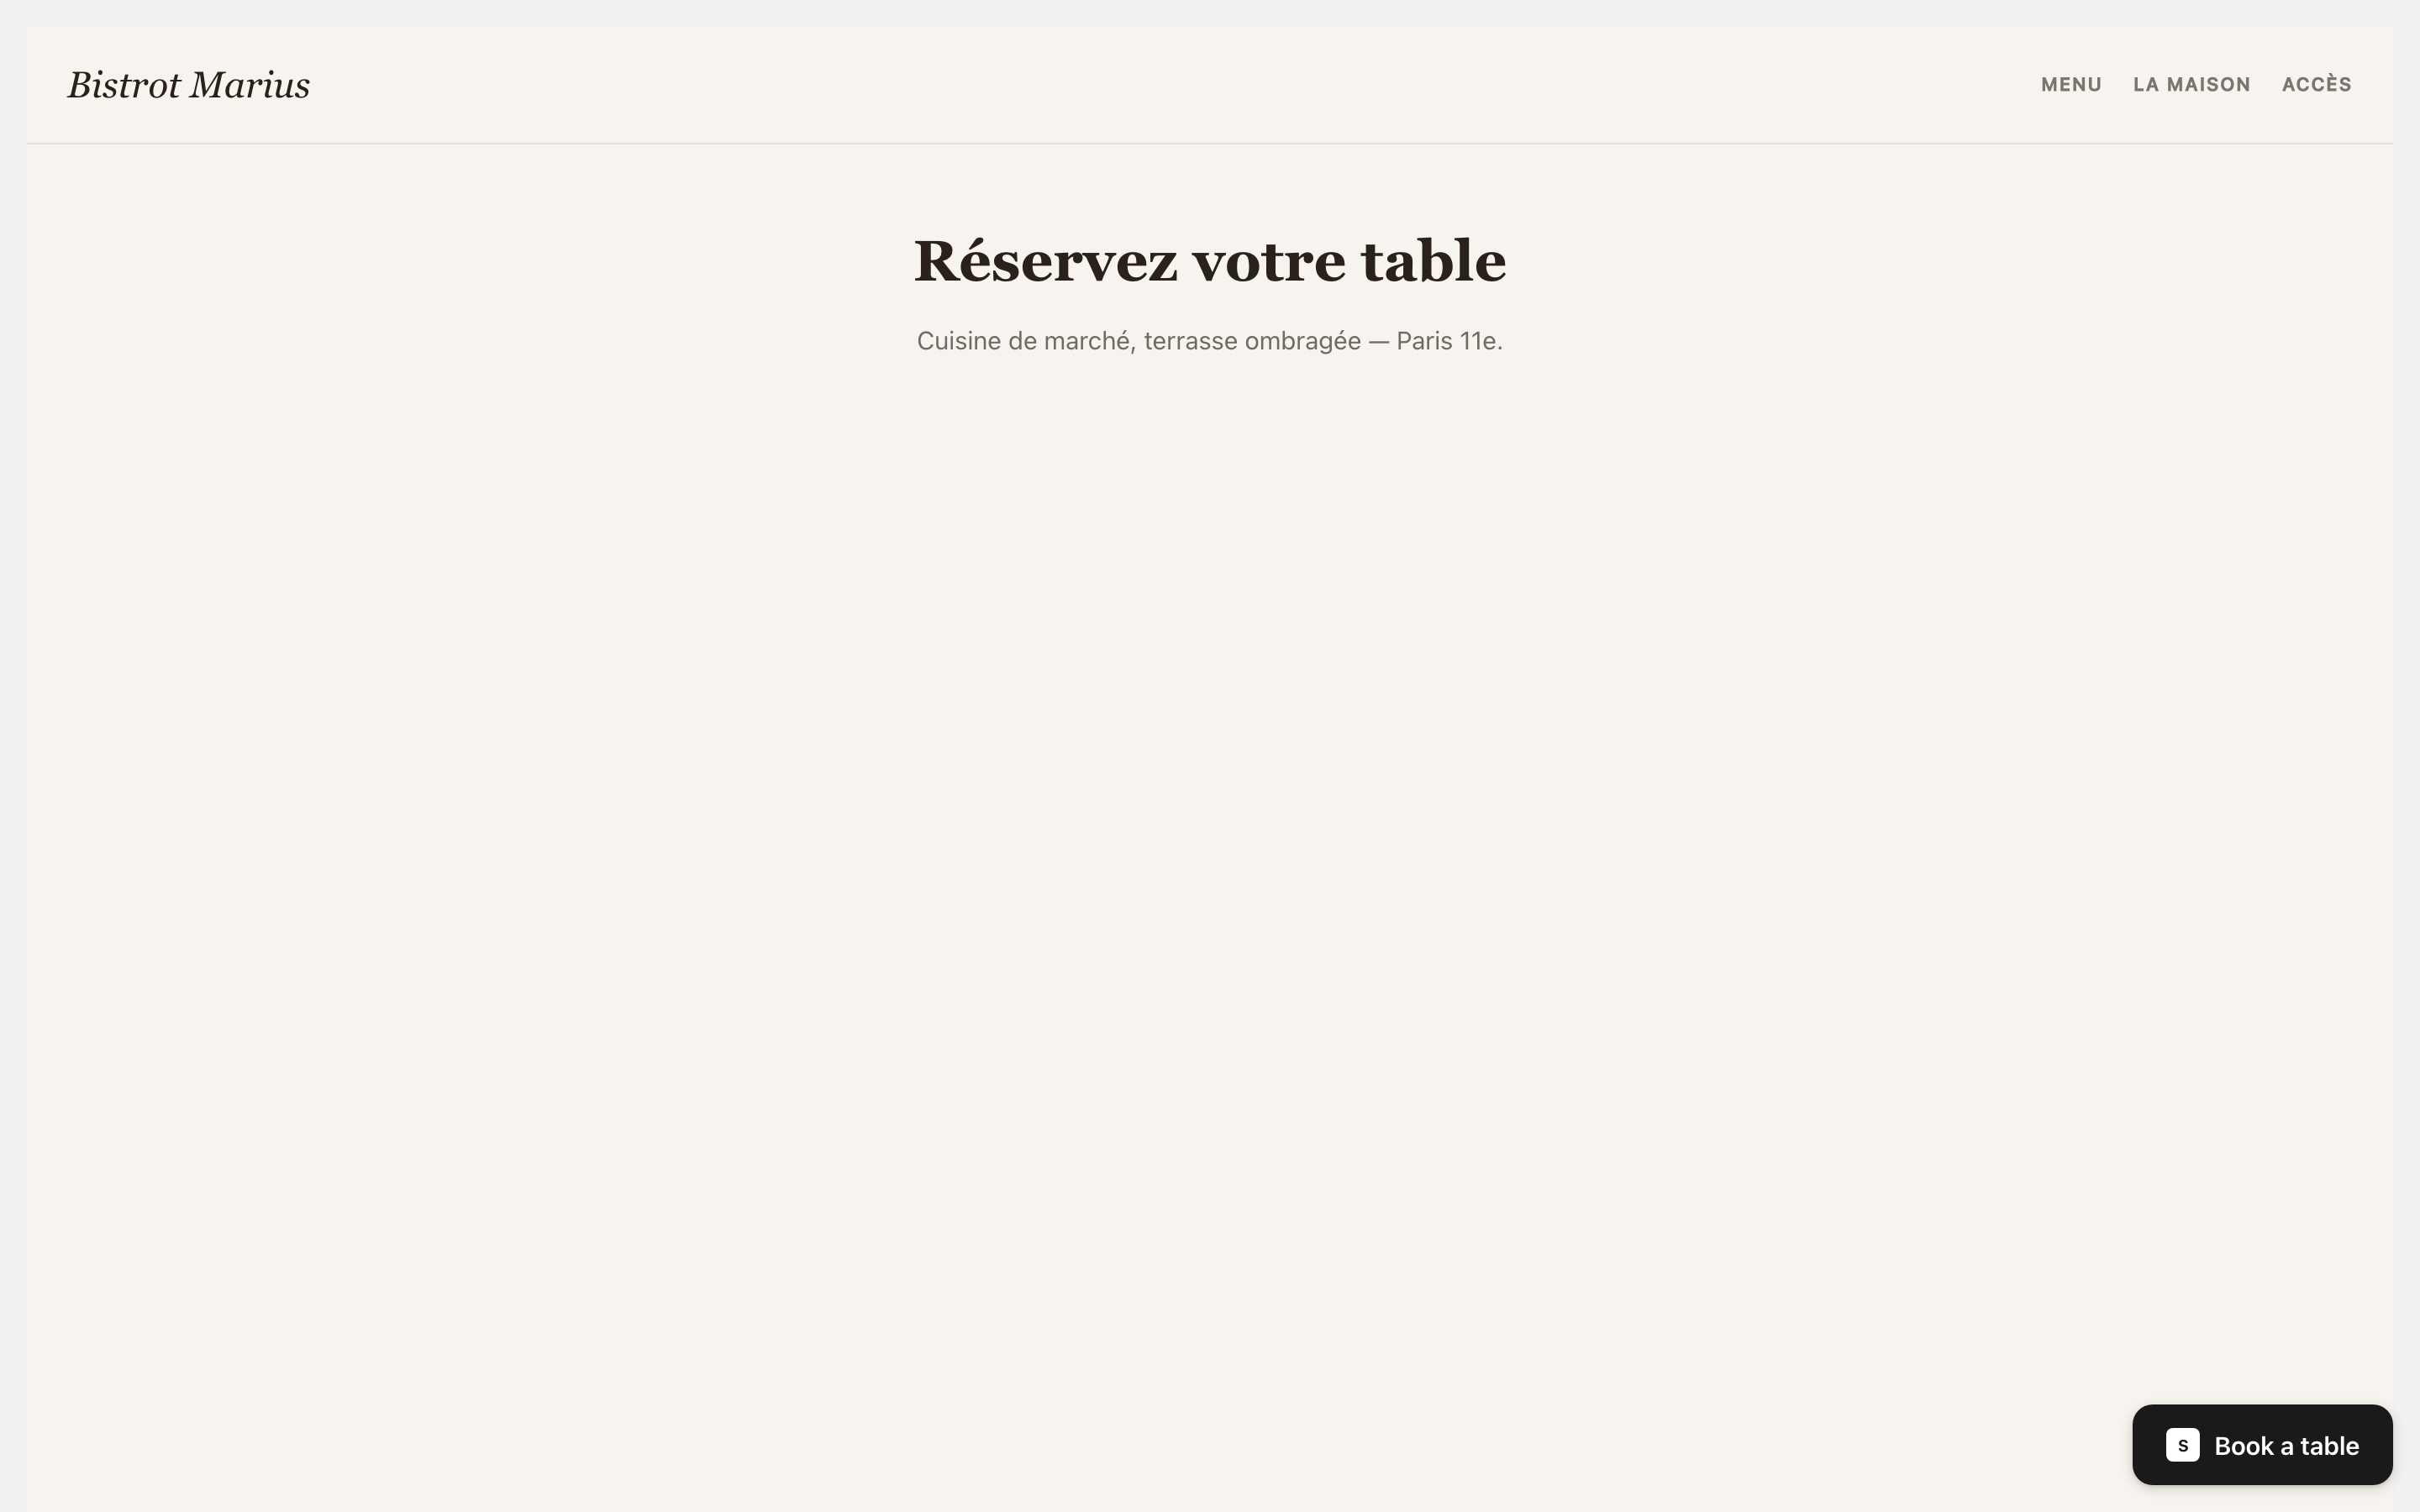
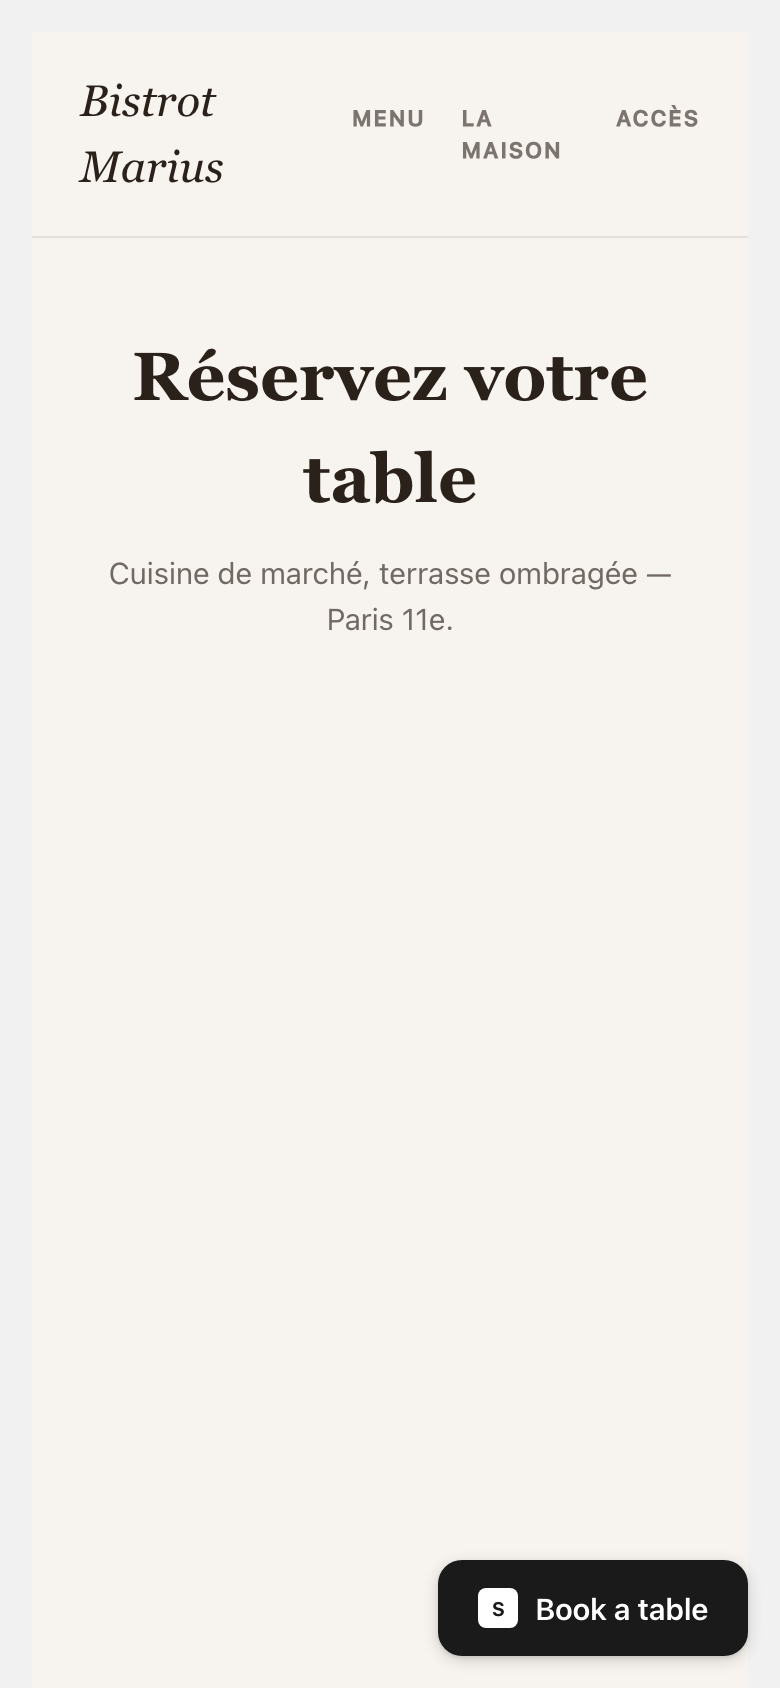
Section titled “Sticky button”Sticky button adds a fixed button to your site. The guest clicks it and the form opens in an overlay, over the page. The Button position field anchors that button in one of six positions. The button’s label adapts to the visitor’s language; the button itself keeps the Service style, and it’s the form it opens that takes your brand primary color.
Manual trigger
Section titled “Manual trigger”Manual trigger gives you control: the widget script is loaded, but no button is added. You open the form from your own button or link. Button position anchors the form when it opens. This mode and how to trigger the opening from your code are covered in Integrate the widget with your website.
After installing
Section titled “After installing”The widget takes on your brand primary color and the visitor’s language, and it only shows reservations if Accept online reservations is on — see Turn on online reservations. For the journey the guest follows in the widget, see What your guests see.